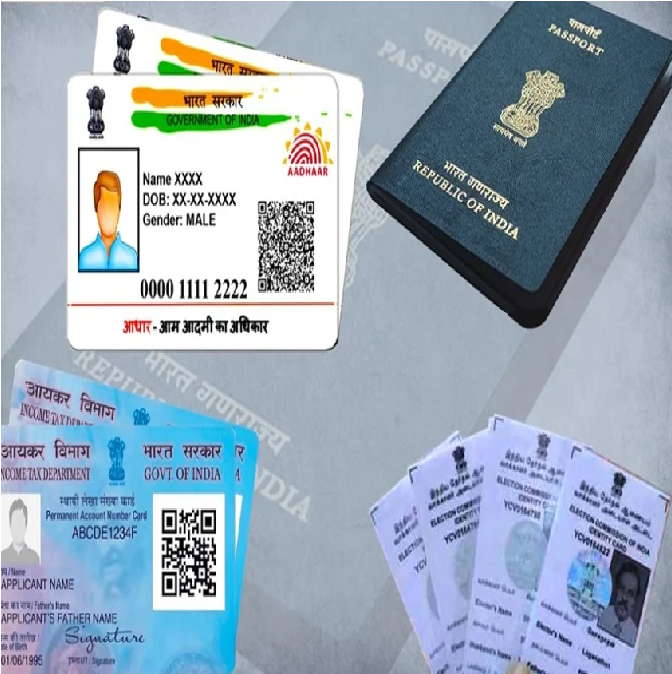
Manually linking Aadhaar numbers to the electoral roll is now possible thanks to Form 6B, which was introduced by the Election Commission. According to EC, a person’s Aadhaar number can be provided voluntarily.
New Delhi: An official announced that as of Monday, those who wish to link their Aadhaar numbers to their names on the electoral roll can do so by completing a new Form 6B.
With the introduction of Form 6B, the Election Commission has made it possible to manually link Aadhaar numbers to the electoral roll. According to EC, however, submitting an Aadhaar number is completely optional.
Read More: How will India’s telecom and service industries be affected by 5G?
Since August 1, a new form for collecting Aadhaar numbers from current voters will be used to authenticate entries in the electoral rolls, according to Delhi’s Chief Electoral Officer (CEO).
Both online and offline submission of an elector’s Aadhaar number is possible. Using Form 6B, registered voters can provide the electoral registration officer with their Aadhaar number.
In the meantime, you can use the internet to link your Aadhaar number to your voter identification number. Using this guide, you can link your Aadhaar number with your voter identification number online.
Step-by-step instructions are provided below for electronically connecting Aadhaar with a voter identification card.
- Visit the election commission website https://voterportal.eci.gov.in/
- Login to the portal (you will be asked to log in using either your mobile number, email id, voter id number
- You will be required to provide your state, district, and other personal details –name, date of birth, and father’s name
- Click on the search button
- If entered correctly, your details will match the government’s database and will be displayed on the screen
- Click the Feed Aadhaar No’ option on the left side of the screen
- A pop-up page will appear
- You will be asked to fill in the name that appears on your Aadhaar card, Aadhaar number, voter ID number, registered mobile number, and/or registered email address.
- Hit the submit button. Also, don’t forget to cross-check the details you have provided.
- Now, a message will appear on the screen stating that the application has been registered successfully.


